The Developer's Console
The Overwolf Developer's Console (also called the Dev Console), is where you manage your applications and see their performance data.
You will be given access to the Overwolf console ONLY after you submit your app and it's been approved by our QA team. For more information about app releases, see Release your app.
Once your DevRel has given you access to the Developers console, you can login using https://console.overwolf.com.
You will then be greeted wih the login page.
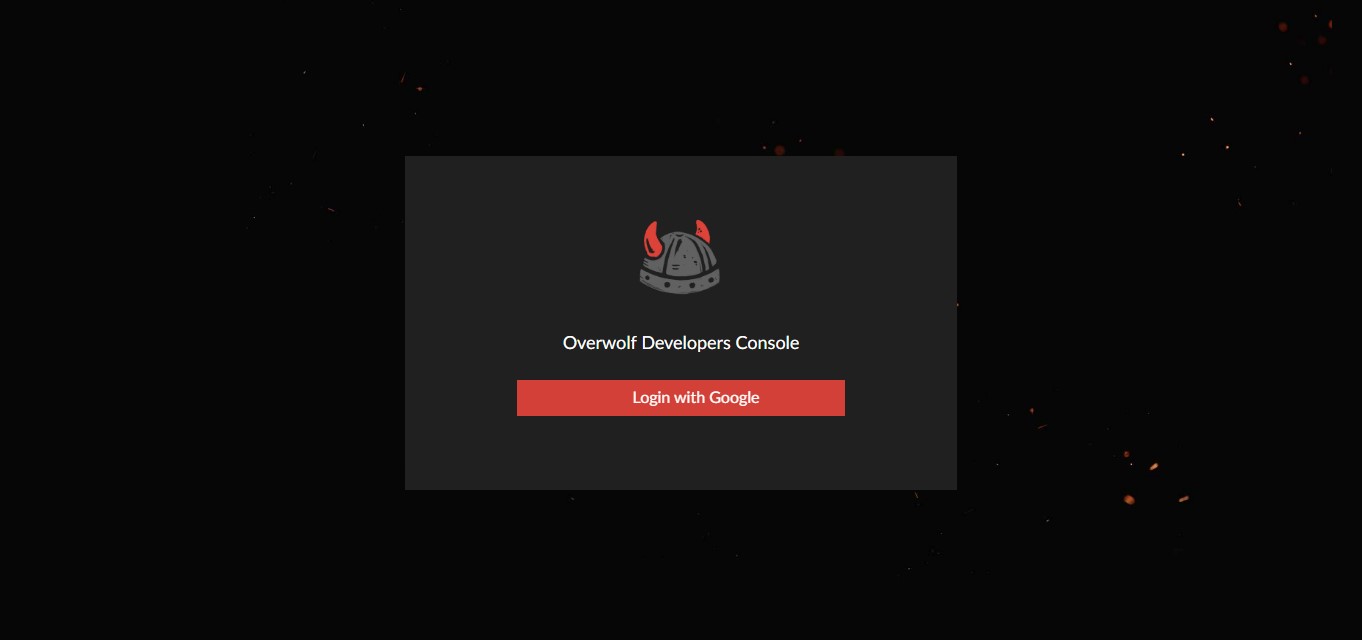
Use the account you sent to your DevRel to login (typically a Google account). You will then be redirected to the console's home-page.
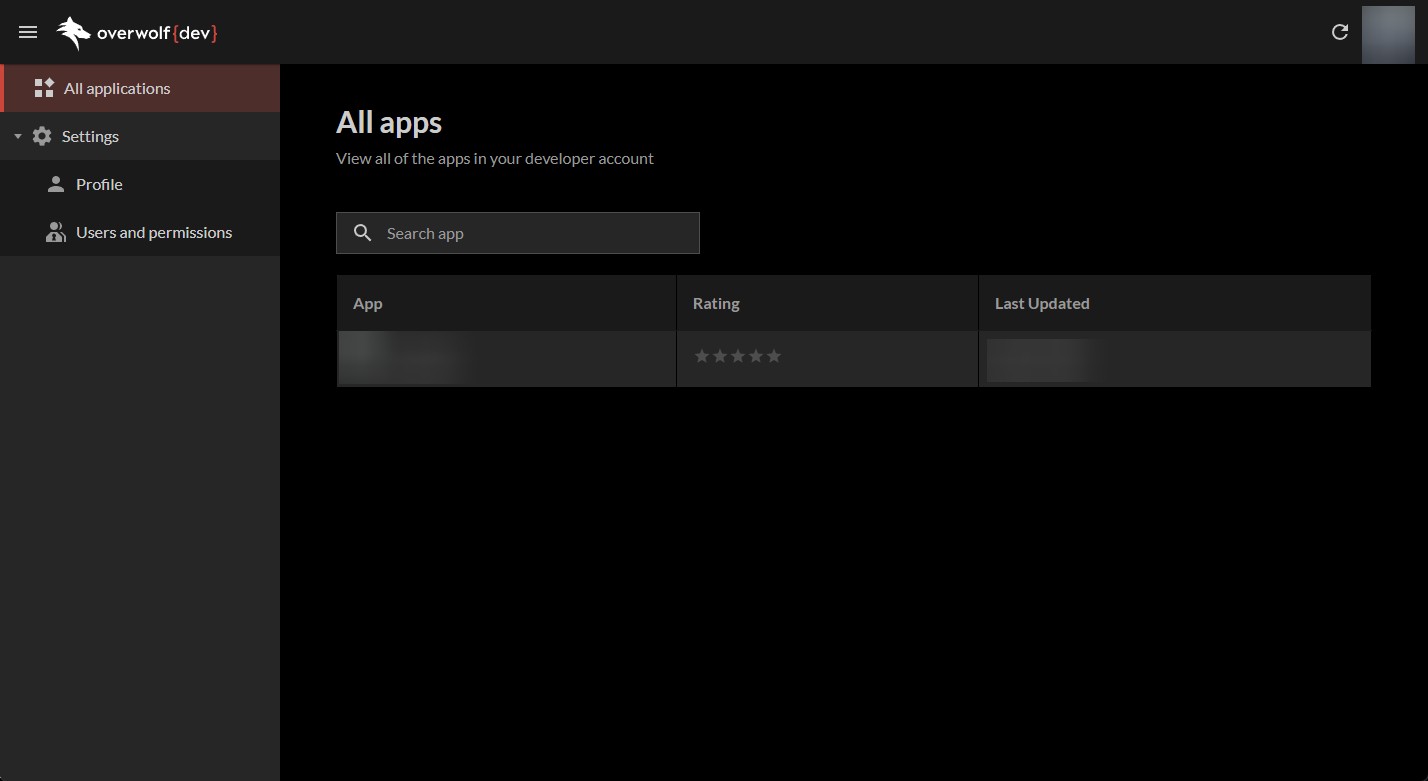
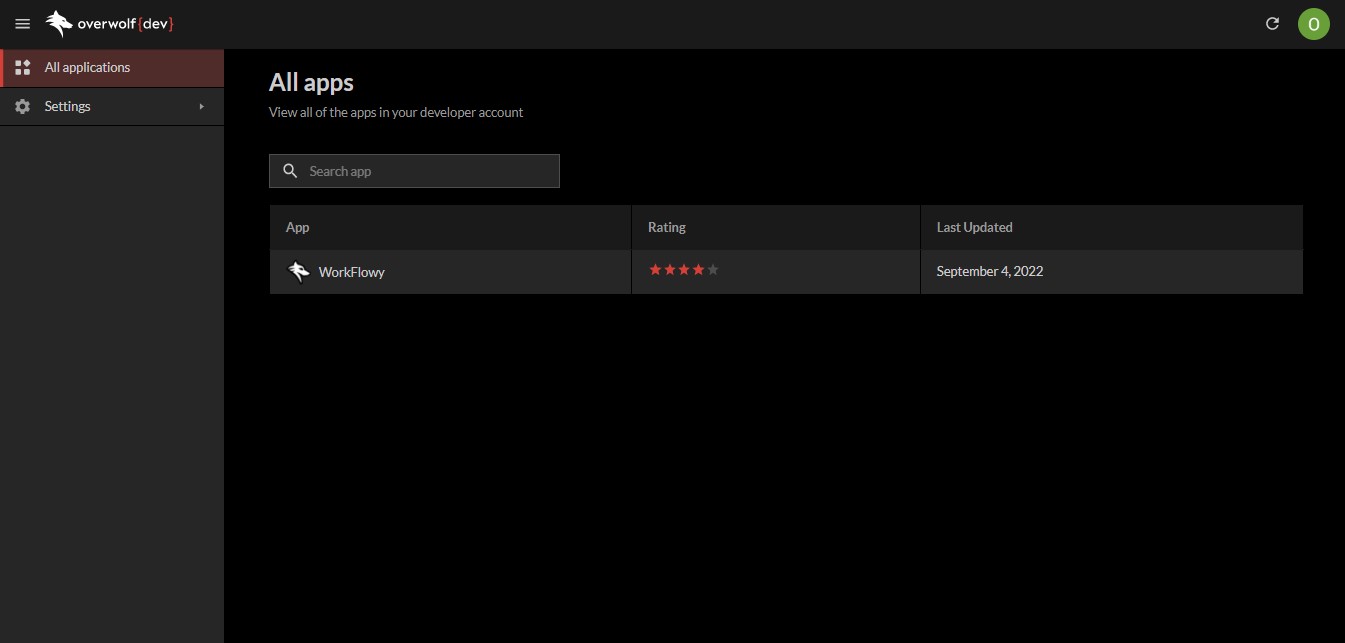
The All Apps screen provides you with a list of apps that you are allowed to manage. You can use the Search app bar to find other apps that you have access to. Press on the app in the list to see the Developers Console for that app.
Management Console
The Management Console provides you with the tools to manage your account. Tools for management include:
- Profile—a set of tools to manage your profile.
- Notifications—read notifications from your DevRel.
- Users and Permissions—a set of tools to manage the users in your Overwolf developer's account.
App Developers Console
The Developers Console provides you with tools to manage and monitor your app. The Developers Console is divided into sections:
- Dashboard—widgets that give you an overview of your app's performance.
- Performance Statistics—widgets dedicated to your apps performance metrics.
- Release—tools to manage the release of your app:
- Production—the channel you use to release a fully tested and released version of you app.
- Testing—the channel you use to release a version or your app for testing.
- Grow—a set of tools that help you manage the growth of your app.
- Store Listing—the tools you need to manage how your app appears in the Overwolf App Store.
- Games Statistics—widgets that show game trends in the Overwolf Platform.
- Quality—tools to help manage the quality of your app after it has been released.
- User Logs—a list of user logs from your app.
- User Feedback / Reviews—a list of feedback entries from users of your app.
- Monetize—tools to help monitor the monetization of your app.
- Revenue Statistics—widgets that help you visualize the monetization of your app.
- Predicted LTV (Customer Lifetime Value)—widgets that help visualize the predicted lifetime value of a user based on past video and display revenue (without subscriptions).
- Subscriptions—tools to help visualize subscriber monetization.
- Statistics—widgets that show subscriber and subscription monetization.
- Subscription Plans—a list of subscription plans.
- Subscribers—a list of subscribers.
- House ads—manage your house ads.
An application does not have to be public to appear in the console. It can exist in hidden mode where it can only be downloaded using a link to the app. For more details, contact your DevRel manager.
The developer's console also:
- Works with the ow-cli tool.
- Exposes an app's public release notes through a public endpoint.
Once you log-in (using your google account), you will be redirected to the console's home-page.
The Header Toolbar
 The header toolbar allows you to do several things:
- Using the "burger menu" in the left, you can collapse or expand the sidebar.
- By clicking on the
Overwolf {dev}icon, you will be taken back to the console's homepage. - By clicking on the circular arrow, you can refresh the console's data in real-time, without refreshing the page.
- By clicking on your user's icon, you can choose to log out from the console.
The Footer Toolbar
 The footer toolbar shows up in pages where there are edit-able fields.
Using it, you can:
The footer toolbar shows up in pages where there are edit-able fields.
Using it, you can:
- Save any changes made since the last edit, by clicking
Save. - Revert any changes made since the last edit, by clicking
Discard changes.
The Paging Footer
![]() The paging footer shows up in pages where there are (potentially long) lists of values.
Using it, you can:
The paging footer shows up in pages where there are (potentially long) lists of values.
Using it, you can:
- Control how many results are shown per result page.
- Switch to different results pages.