App login with Overwolf
This article will explain how to implement an Overwolf login/auth interface in your website.
The App login with Overwolf is deprecated. Use the Overwolf OIDC - Specification instead.
Typical usage
One of the common uses for this feature is to enable OW apps developers to identify subscribed users on their website. Many times you would like to offer your premium users that purchased a subscription some unique features or content.
Besides, you can use this feature to do whatever you like: enable your users to use single sign-on without the need for a separate account, display synced info from your server (info that gathered using your OW apps and now can be displayed on your website too), etc.
Login flow overview
This flow is for web browser only, we do not currently offer a client SDK that supports API-based authentication.
- Developers register their app for the OW SSO and get a unique client_id and client_secret.
- The actual login is done using a login form hosted on the OW servers. This means you should only implement a "Login with Overwolf" button in your website. Once clicked, this button will open a new window/tab with the OW login form. (More info in step 1: Engage the SSO flow).
- Once the login is completed on the OW hosted login page, the user is redirected to a pre-defined redirect_URI hosted on YOUR server (More info on how to implement this page in "Create redirect_uri endpoint").
- The redirect_URI page executes a POST request to OW servers to request and get the auth token (and might include some other details like email, subscriptions, etc.) that was created after the login (More info in step 3: Get the auth token).
Prerequisite
Register your app on Overwolf
Before implementing the OW login in your website, you must register your app on Overwolf. To register, just send us an email to developers@overwolf.com. Once you register, your client_id and client_secret will be generated.
You should provide these parameters:
- client_name - The app's name.
- redirect_uris - An endpoint hosted on your server. More details here.
- logo_uri - URL of the app's logo.
- policy_uri - URL of the app's privacy policy.
- tos_uri - URL of the app's "Terms of Service".
Note: all the URIs needs to be accessible with a public domain (not localhost). Otherwise, our servers will not be able to complete the flow.
Your app's client_id and client_secret will be provided once you complete the registration.
Create redirect_uri endpoint
On your server, create an endpoint used to get the auth-token from Overwolf (by making a POST request to the OW server).
POST https://accounts.overwolf.com/oauth2/token?client_id={client id}&client_secret={client secret}&grant_type=authorization_code&code={code that came from request object, e.g: request.query.code}&redirect_uri={redirect_uri}
Required Query params:
- client_id
- client_secret
- grant_type
- code
- redirect_uri
Required HTTP headers:
- Content-Type: "application/x-www-form-urlencoded"
Sample code
This is an example code that shows how to implement a redirect_uri endpoint on your server.
var express = require('express');
var router = express.Router();
const axios = require('axios');
const querystring = require('querystring');

const demoClient = {
  client_id: 'xxxxxxxx',
  client_secret: 'yyyyyyyyyyyyyyyyyyyyyyyyyyyyyyyyyyyyyy',
};

/**
 * this is the callback endpoint as passed in the redirect_uri parameter
 * and should be whitelisted in the oauth client application
 */
router.get('/auth/overwolf/callback', function(req, res, next) {
  const client = demoClient;
  axios.post('https://accounts.overwolf.com/oauth2/token',
    querystring.stringify({
      client_id: client.client_id,
      client_secret: client.client_secret,
      grant_type: 'authorization_code',
      code: req.query.code,
      redirect_uri: 'http://localhost:5000/auth/overwolf/callback'
    }),
    {
      headers: {
        "Content-Type": "application/x-www-form-urlencoded"
      }
    }).then(function(response) {
      // the response will contain the access token to be used
      console.log(response);
      res.json({});
    }).catch((e) => {
      console.error(e)
      res.send('err')
  });
});

router.get('/oidcresult', function(req, res, next) {
  res.json(req.query);
});

module.exports = router;
As you can see, redirect_uri is http://localhost:5000/auth/overwolf/callback. This page receives the auth token (or login error) once the auth process is finished on the OW side.
1. Engage the SSO flow.
The first step is to implement a login button on your website. Clicking the button should open a new tab or popup window by implementing this GET request:
GET https://accounts.overwolf.com/oauth2/auth?response_type=code&client_id={client id}&redirect_uri={redirect_uri}&scope={desired scope separated by '+', e.g: openid+profile+email}
Required Query params:
- response_type
- client_id
- redirect_uri
- scope - here you can define which details you would like to fetch from OW server.
- Currently you can get the user openID, profile image, email. Soon, you will be able to get also the
active subscriptionsfor this user. - During the login process the user will have to accept each scope, through the consent form (more details below).
- Currently you can get the user openID, profile image, email. Soon, you will be able to get also the
2. Login on Overwolf
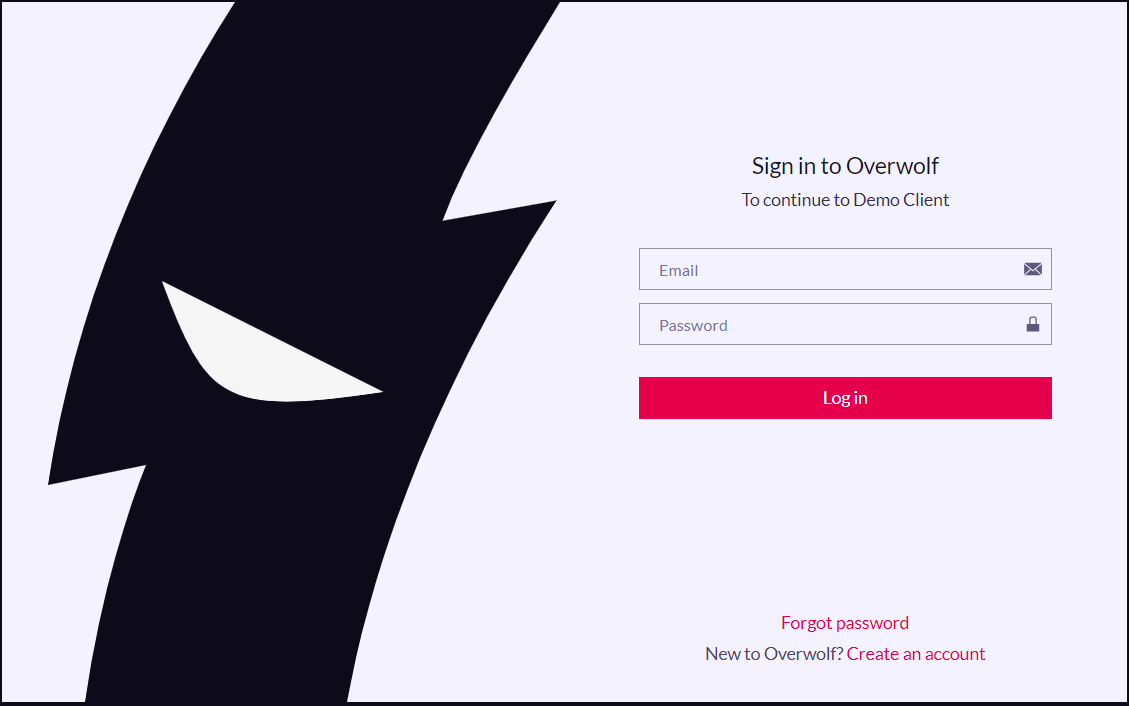
Once the SSO flow is engaged, the user is redirected to the OW hosted login page:
!
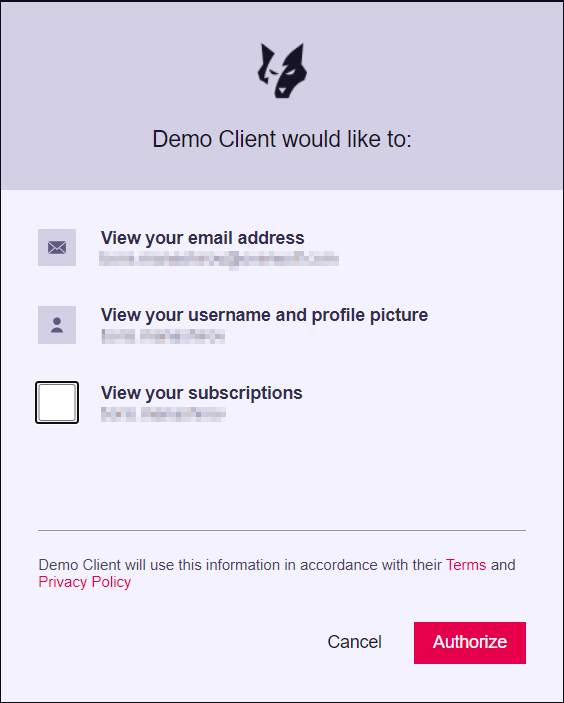
On successful login, the user will see a consent screen to requested scopes:
!
After the consent, we will redirect the user back to the redirect_uri pre-defined in the registration process.
3. Get the auth token
If no error occurred during the flow, the user is redirected to the redirect_uri endpoint, that POSTS the request for the auth-token. You can see how this POST request looks like in the Create redirect_uri endpoint section.
Once the POST completed, you will get the following auth token details:
- access_token
- expires_in
- id_token
- scope
- token_type
Get user info from token
Once you have the encrypted JWT token, you can easily decode/decrypt it on your server side code using one of the available JWT libraries and get some additional user info:
- Sub (username)
- Nickname
- Picture (avatar)
- Other JWT properties.
Most JWT packages can decode the token without verifying it, but in the production environment, it's recommended to verify the token to make sure that it hasn't been tampered with.
For example, the npm package jsonwebtoken offers jwt.decode() to decode the token and jwt.verify() to verify it.
Note that for verification, the OW public key is required. You can find it on this endpoint: https://accounts.overwolf.com/oauth2/jwks.json.
4. Close the login window.
Now, we can safely close the login window.
The login process is complete.
5. Live Demo
Below you can find a live example of the Overwolf SSO Process:
After clicking on this page, a new tab will open, and you will be able to login with your Overwolf username. Afterwards, you'll be sent back to this page, and the token will be displayed.
Of course, in practice, you will do something more meaningful with the auth token...
Download from Github
The server side code implemented in our server (in the redirect_uri), can be downloaded from our Github.